
How to Burn a Candle Properly (First Burn and Care)
A luxury candle deserves proper care from the moment you light it. Whether you own a hand-carved onyx-jar candle or any high-quality candle, the first burn sets the tone for everything that follows. Tunneling, soot buildup, and uneven wax consumption all stem from common mistakes that are easy to avoid once you know the rules.
The First Burn: Why It Matters Most
The first time you light your candle, what happens in the first two to four hours determines how the candle will burn for the rest of its life. If the wax doesn't melt completely across the top, you risk tunneling, a condition where the flame burns only the center and leaves walls of wax untouched around the edges.
Tunneling wastes wax, shortens burn time, and looks uneven as you use the candle. Worse, it's almost impossible to fix once it starts. This is why the first burn is critical.
Steps for a Perfect First Burn
- Light the candle and let it burn without interruption until the entire top surface has melted into a pool of liquid wax. For a medium candle, this takes about 2 to 3 hours; for a large candle, up to 4 hours.
- Watch for the wax pool to reach the edges of the jar. You should see a ring of melted wax across the entire top, not just a hole in the center.
- Once the melt pool is complete, you can extinguish the candle safely. Future burns will be shorter, usually 3 to 4 hours at a time.
- Never blow out a candle or use water to extinguish it. Instead, use a candle snuffer or gently dip the wick into the melted wax pool and straighten it back up as it cools.
Trimming the Wick
Keep your wick trimmed to 1/4 inch before every burn. A wick that's too long creates excess smoke, soot buildup on the jar, and an unstable flame that can flare. A 1/4-inch wick burns at the right temperature, produces a steady flame, and extends the life of your candle significantly.
Use a dedicated wick trimmer or nail clippers if you don't have one. Trim straight across, and always trim before lighting, never while the candle is burning. If you spot black residue on the inside of the jar, it's a sign the wick was too long on a recent burn.
Burn Duration and Placement
Limit each burn to a maximum of 4 hours. Longer burns overheat the wax, can cause the wick to mushroom (the tip becomes too thick), and speed up wax consumption. Plan your burns: a small candle offers 24 hours of total burn time, meaning you can burn it safely for 6 sessions. A medium candle gives 48 hours, and a large candle provides 80 hours.
Place your candle in a draft-free location, away from open windows, fans, and air conditioning vents. Drafts cause uneven burning, excessive smoking, and can even blow the flame out. A stable environment ensures the cleanest burn and the most even melt pool.
Caring for Your Natural Stone Jar
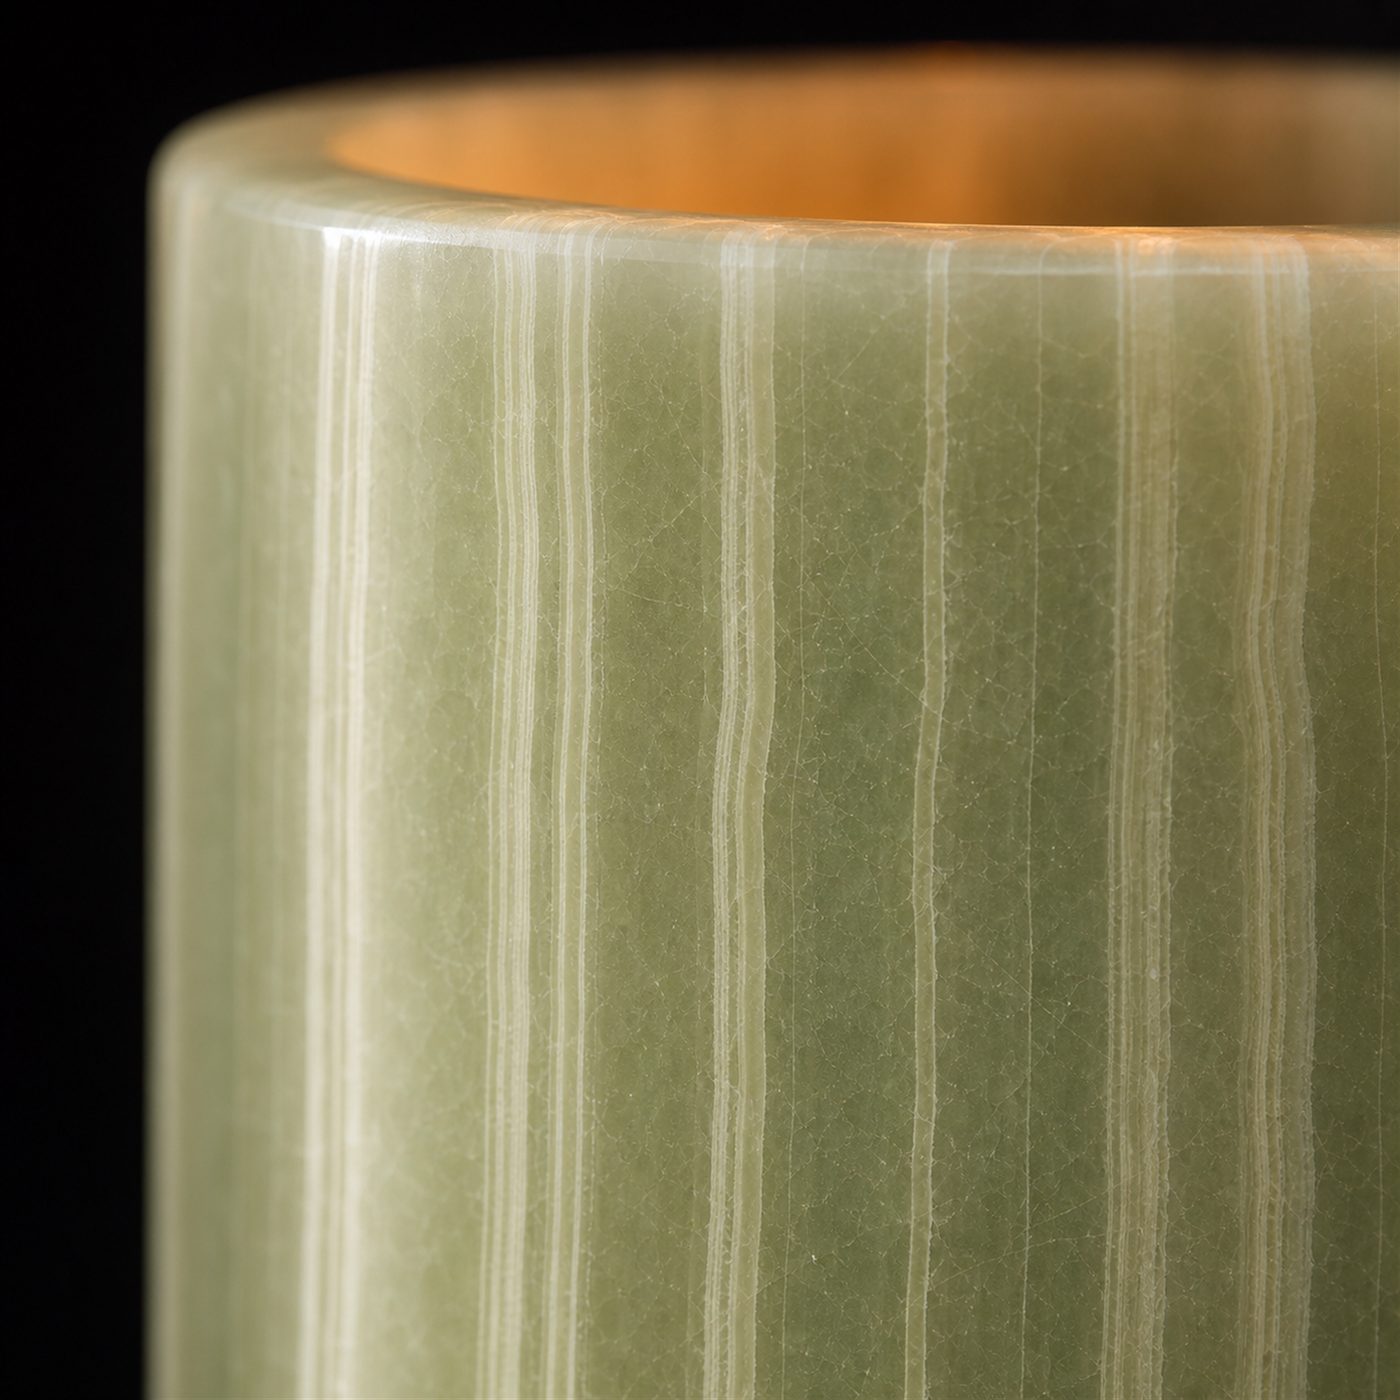
Onyx is a natural stone, and your hand-carved onyx candle jar deserves as much care as the wax inside. Never move the candle while it's lit or while the wax is warm and soft. The movement can damage the fragile stone and create an uneven melt pool. Wait until the wax has cooled completely if you need to relocate it.
Once you've burned through all the wax, the jar becomes a beautiful vessel for storage, plants, or decor. Wash it gently with warm water and a soft cloth to remove any residual wax or soot. The natural variations in onyx color and texture, which give each jar its unique character, are preserved by this simple care.
Learn more about our approach to sustainable luxury and natural materials in our brand story.
When to Stop Burning
Once the wax layer at the bottom is about 1/2 inch thick, stop burning the candle. At this point, continued heat can damage the jar itself, and you won't get usable wax burn time anyway. This residual wax can be gently scraped out if you'd like to clean the jar for reuse, or you can leave it as is and simply repurpose the vessel.
Explore our full candle collection to find your next scent, or use your empty jars as a set to create an intentional home atmosphere.
Key Takeaways
- Let the wax pool reach the edges on the first burn to prevent tunneling and wasted wax.
- Trim the wick to 1/4 inch before each burn for a clean, steady flame and longer candle life.
- Never burn for more than 4 hours at a time, and always burn in a draft-free location.
- Handle your onyx jar with care, never moving it while warm or lit, to preserve both the stone and the melt pool.
Frequently Asked Questions
What is tunneling and how do I prevent it?
Tunneling happens when the wax only burns in the center, leaving untouched wax around the edges. It's caused by lighting the candle before the first complete melt pool forms. Prevent it by letting the wax melt all the way to the edges on your first burn, which can take 2 to 4 hours depending on the candle size.
Can I burn my candle for longer than 4 hours?
No. Burns longer than 4 hours overheat the wax, cause the wick to mushroom, and speed up consumption. Stick to 3 to 4-hour burns for the best results and longest lifespan.
How do I extinguish the candle safely?
Use a candle snuffer to gently press out the flame, or dip the wick into the melted wax pool and straighten it back up as it cools. Never blow it out or use water. Both methods can create smoke and soot.
What should I do with the jar after the wax is gone?
Once your candle is burned down to about 1/2 inch of wax at the bottom, stop burning it. Gently scrape out the remaining wax if you'd like, wash the jar with warm water and a soft cloth, and repurpose it for storage, plants, or home decor.
Ready to experience luxury candles burned the right way?
Discover Scintilla Candles