
Why Trim a Candle Wick? Fix and Prevent Tunneling
The most common mistake candle lovers make is ignoring the wick. A simple trim before each burn prevents tunneling, black soot buildup, and flames that shoot too high. For luxury candles in hand-carved onyx vessels, maintaining the wick is just as important as choosing quality wax and natural materials. This guide walks you through the exact steps to trim safely and keep your candle burning beautifully for its full up to 80-hour lifespan.
What Is Tunneling and Why It Happens
Tunneling occurs when the candle burns down the center, leaving a thick wall of unmelted wax around the sides. Instead of a full, even melt pool, you get a narrow tunnel that wastes wax and shortens the candle's life dramatically. The culprit is almost always an untrimed wick that burns too hot, melting only the wax directly beneath it.
When wax melts unevenly, the cooler edges near the jar solidify before they can flow into the melt pool. On the next burn, the wick sits lower in this tunnel, making the problem worse with each use. Eventually, the wick can't reach the outer wax at all, and you're left with a half-burned candle that's impossible to fix without aggressive intervention.
The good news: trimming prevents tunneling entirely. A wick trimmed to about 1/4 inch burns at the right temperature, creating an even melt pool that reaches the edges of the jar every single time.
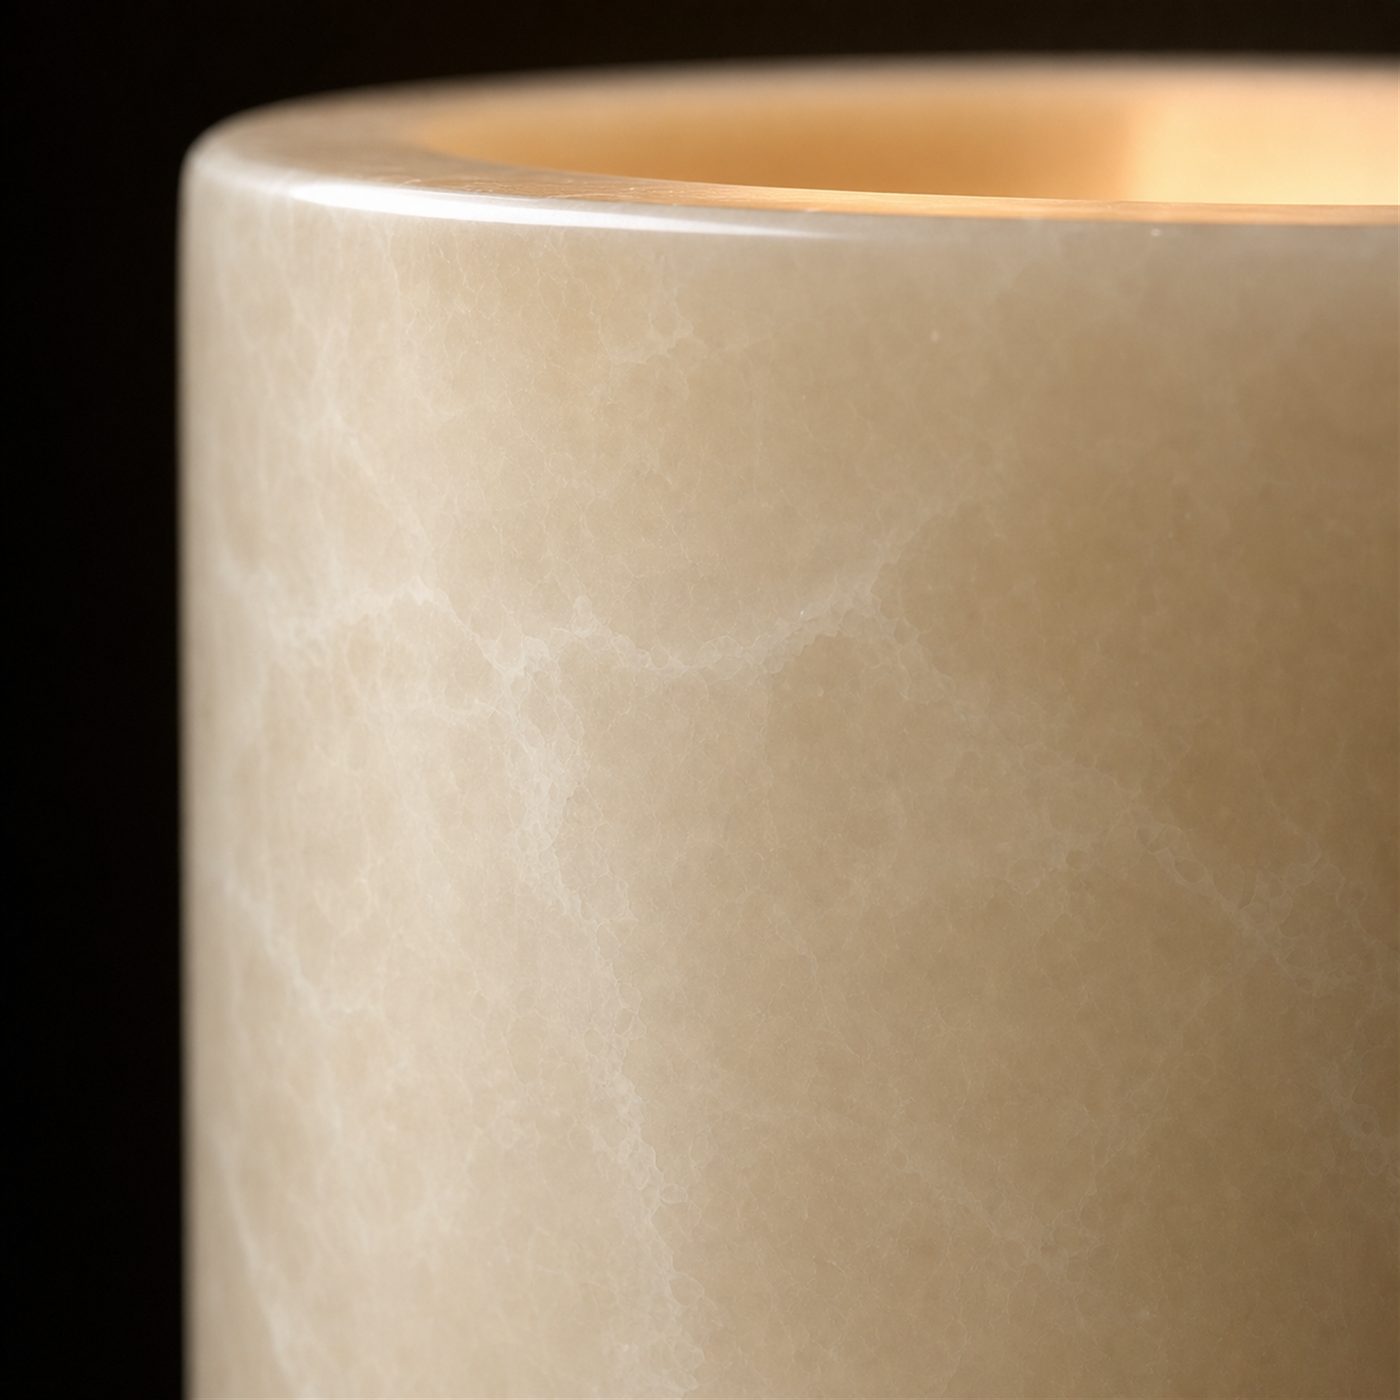
How to Trim a Candle Wick Correctly
Trimming takes 30 seconds and requires almost no tools. The goal is simple: cut the wick to 1/4 inch above the wax surface before each burn.
- Wait for the candle to cool completely after the previous burn. Never trim a hot wick.
- Inspect the wick for any mushrooming (the dark, rounded buildup at the tip). If present, this carbon buildup is also trimmed away in the next step.
- Hold a wick trimmer (or small scissors) horizontally, positioning the blades about 1/4 inch above the wax.
- Cut straight across. Don't cut at an angle, as this can cause uneven burning.
- Remove the trimmed piece from the wax. A small piece of carbon may fall into the jar or melt pool, which is harmless.
- Light the candle as normal on your next use.
That's it. One small trim between each burn is the difference between a candle that burns evenly for up to 80 hours and one that tunnels halfway through.
Tools for Safe and Easy Trimming
You don't need specialized equipment, but the right tool makes trimming cleaner and more precise. Here are your options:
Wick trimmers: These small scissors have a flat base and angled blades designed to cut at exactly the right angle and height. They're inexpensive, around 5 to 10 dollars, and last years. If you burn candles regularly, this is a worthwhile investment.
Small scissors: Any sharp, small scissors work if you're careful. Kitchen shears or craft scissors can trim the wick, though they're less precise than a dedicated trimmer.
Pinching method: In a pinch, you can carefully pinch and break the wick off by hand. This is less clean but works. Avoid this if the wick is long, as you might break off too much and get carbon in the wax.
Whatever you use, keep it sharp and clean. A dull blade can shred the wick instead of cutting cleanly, which affects how it burns.
Fixing a Tunneled Candle
If your candle has already tunneled, don't throw it away. You can fix it with patience, though prevention is always easier than the cure.
For mild tunneling (less than 1/2 inch of unmelted wax): Trim the wick to 1/4 inch and burn the candle for 2 to 3 hours continuously. The larger, properly trimmed wick will create more heat, gradually melting the outer walls. Watch carefully so the flame doesn't get too high.
For severe tunneling: Trim the wick very short, about 1/8 inch, and burn for 4 hours or until the entire surface melts evenly. This slower, longer burn gives the outer wax time to catch up. Once the melt pool reaches the edges, return to your normal 1/4 inch trim for future burns.
After fixing tunneling, stay consistent with trimming. Each burn should be 2 to 4 hours, long enough to establish an even melt pool but short enough that you're trimming between uses.
Why Wick Length Matters for Luxury Candles
In hand-carved onyx candles, the visual and sensory experience matters as much as the burn performance. A correctly trimmed wick contributes to this in ways many people don't notice until something goes wrong.
A wick trimmed to 1/4 inch produces a steady, moderate flame about 1/2 inch high. This flame is steady and calm, releasing fragrance evenly and creating the gentle ambiance you expect from a luxury candle. An untrimmed wick, by contrast, can flare up with a tall flame that's too hot, even slightly dangerous, and wastes the wax rapidly.
With 100% soy wax and a cotton wick, your candle is designed to burn slowly and completely. Our refill program lets you reuse the onyx vessel for years, but only if you maintain the burn. Trimming the wick ensures you get the full up to 80-hour lifespan and the jar remains pristine for refills.
For more information on how to extend your candle's life and maintain your vessel, explore our white onyx collection and refill options.
A Simple Habit That Pays Off
Trimming a candle wick is one of the easiest ways to improve your burn experience, and it takes almost no time. Keep a wick trimmer on your coffee table or shelf next to your candles, and make it part of your routine. Let the candle cool, trim to 1/4 inch, light, and enjoy. Within a few burns, you'll notice the difference: a cleaner flame, no tunneling, no black soot on the jar, and a candle that lasts as long as designed.
Luxury candles deserve this small amount of care. It's not about complicated techniques, just a brief pause to maintain what you already own.
Key Takeaways
- Trim your wick to 1/4 inch before each burn to prevent tunneling and uneven melting
- Tunneling happens when an untrimmed wick burns too hot and melts only the center, wasting wax
- A simple wick trimmer costs just a few dollars and makes trimming precise and easy
- Even severely tunneled candles can be fixed by trimming short and burning longer until the melt pool reaches the edges
Frequently Asked Questions
How often should I trim my candle wick?
Trim before each burn session. After the candle cools from the previous burn, trim the wick to about 1/4 inch above the wax surface. This takes just a few seconds and is the single most important step to prevent tunneling and black soot.
What happens if I don't trim the wick?
An untrimmed wick burns too hot, creating a tall, flickering flame. The wax melts unevenly, tunneling down the center and leaving thick, unmelted walls. The candle wastes wax, burns out faster, and develops black soot inside the jar.
Can I trim the wick while the candle is still warm?
No. Always wait for the candle to cool completely. Trimming a warm wick can cause the remaining wick to ignite or behave unpredictably. Cool the candle fully before trimming, then wait a few minutes after trimming before relighting.
What if I trim the wick too short?
If you trim to less than 1/4 inch, the wick may struggle to light or produce a very small flame. Just relight and it should establish normally. Next time, measure more carefully. If the wick is extremely short, let the candle burn for 2 to 3 hours and the wick will build a carbon base that stabilizes the flame.
Ready to perfect your candle experience?
Explore Our Refill Program